Photoshop - Introduction
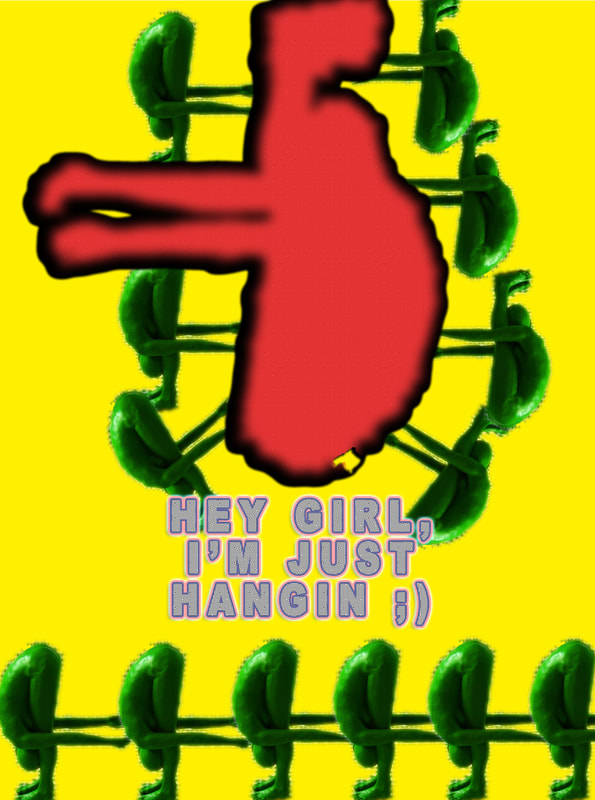
We started out by using the Quick Selection tool to cut out the green man from his background. Afterwards, we moved him to a new document. Next we used the shortcut command J to duplicate the green man 13 times and made them all smaller as well as lined up. With the original, we kept it large and then using the layer effects added a black, thick stroke and also added a bright, red colour overlay. Then, we used the shortcut command delete to fill in the background with the colour yellow. Finally, we added the text, "Hey Girl, I'm Just Hangin ;)", adjusted the size, etc. and using the layer effects, added two strokes (pink and purple), a drop shadow (with low opacity), and a pattern overlay.
Photoshop - Man Edit
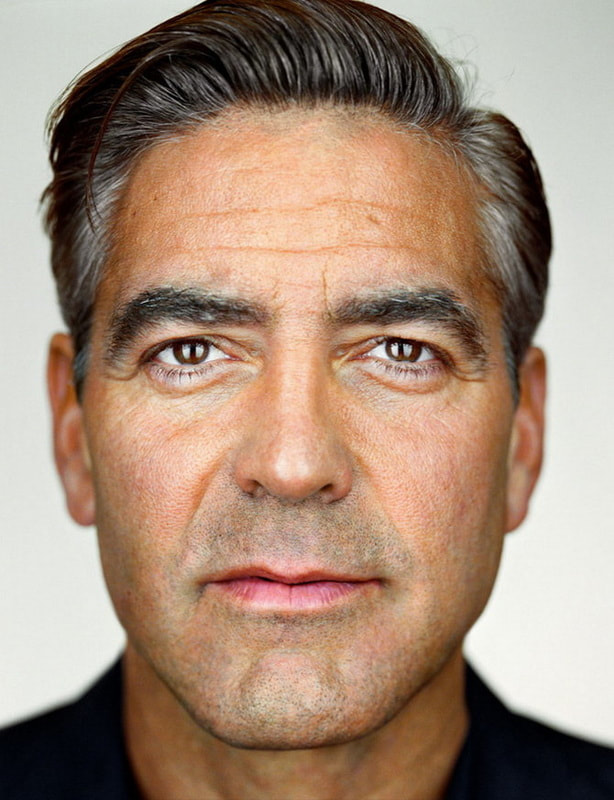
Original
Edited
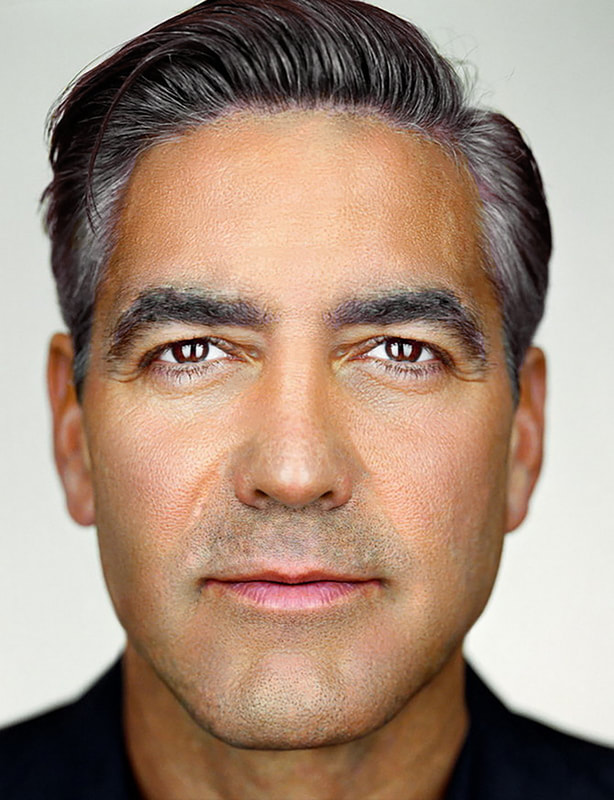
First, using the Marquee tool, we made his face symmetrical. We decided on the better eye, side of the nose, and side of the mouth. Then we duplicated each of them onto their own separate layer and moved them (flipped) to the other side of the face. To make it smooth and seamless, we used the eraser tool (with a feathered, soft eraser) and removed any harsh lines surrounding the duplicated eye, half nose, and half mouth. After that, we used the spot healing brush and removed any blemishes, misplaced eyebrow hairs, and harsh wrinkles. We did not get rid of all wrinkles/creases because we did not want to make him too doll like. Next, we created a new layer and used the hue/saturation image adjustments and made it purple, added a layer mask, and made sure only his hair was revealed through the mask to make only his hair purple. We repeated the same process but for the eyes and using the colour brown instead of purple. Later, we used the liquify tool to somewhat define his jawline and cheekbones as well as bring down his nose (make his nose longer). Finally, we minimized his pores using high pass and gaussian, then adding a layer mask, and making sure the only parts of the edited image on this layer was the skin I wanted to smooth.
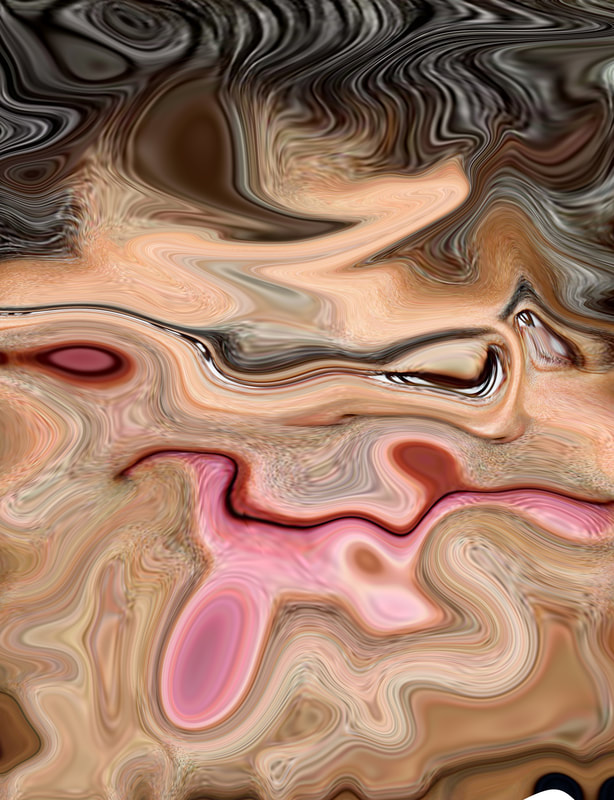
Joke Edit
Photoshop - Shoe Ad
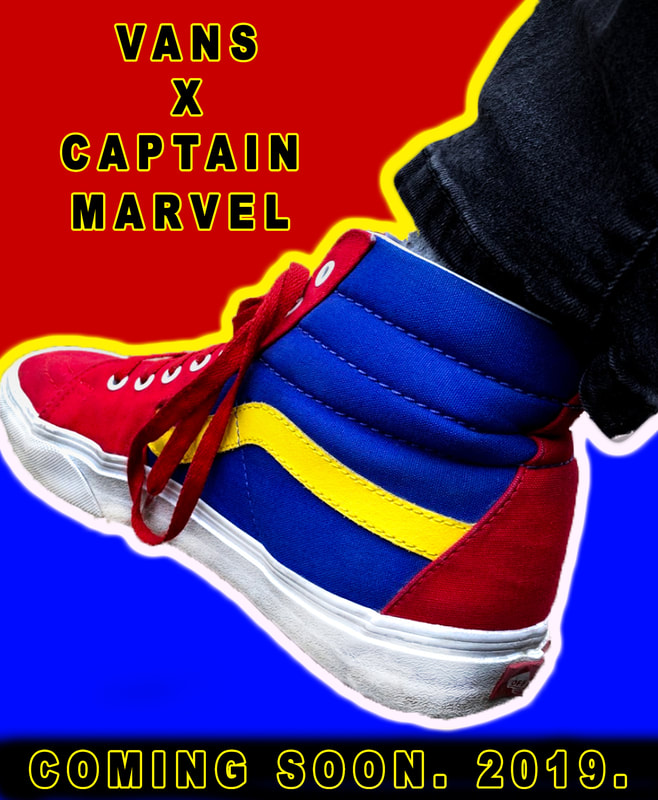
Quick Selection - Before I started my actual ad for my shoe, I opened up the original picture of the shoe and cut out the background using the Quick Selection tool. Then, I moved the cut image to a new 8 x 11 document.
Background - For the first layer, I used the brush tool and selected the colour red. I coloured in half of the page with this colour, then switched my colour choice to blue and coloured in the other half. These colours were chosen to match the shoe.
Layer Effects - For the first thing that I added, it was Outer Glow. I made sure the yellow matched the shoe just like the red and blue did with the background. The white Outer Glow appeared on the bottom of the shoe to make the shoe stand out.
The Text - For the text at the top, I placed it in the top left corner to stand out with the red background. For the second text box, I placed it at the bottom for the release date. Before I did that, I used the brush tool to add in a black strip to make the bottom text stand out. After all of that was finished, I added a Layer Effect to both of the text boxes. The Layer Effect I chose was the same Outer Glow from the shoe to make it stand out as well.
